-171x57.png)
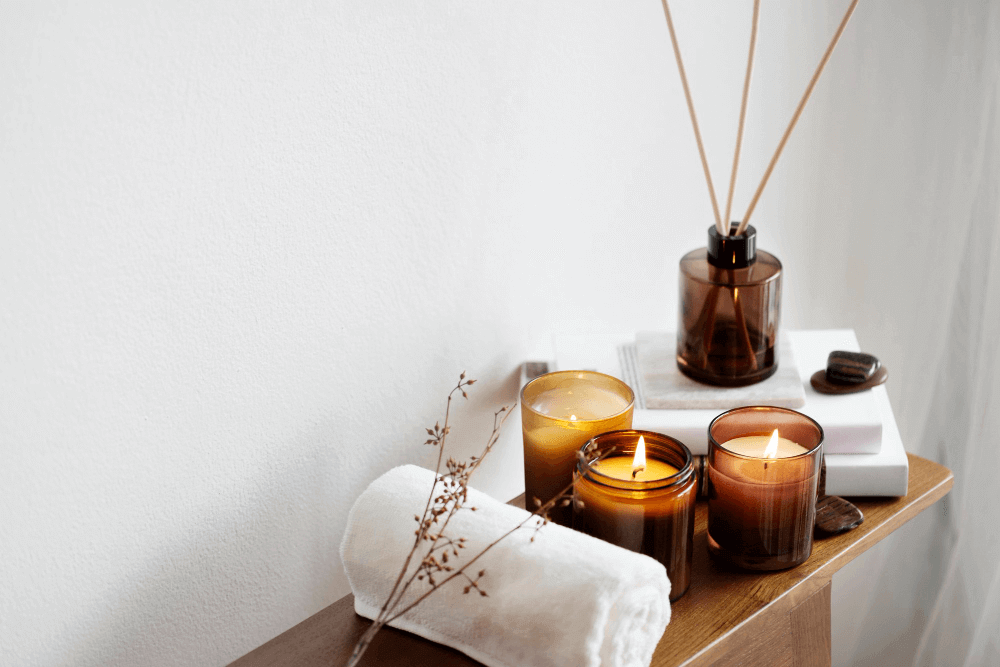
Reed diffusers are a stylish and effortless way to keep your home or office smelling fresh without flames or electricity. Unlike candles, they provide continuous fragrance with minimal maintenance. But to maximize their effectiveness, proper placement and usage are key.
In this guide, you’ll learn:
✔ How reed diffusers work
✔ Choosing the right diffuser & fragrance
✔ Optimal placement for maximum scent diffusion
✔ Step-by-step setup & maintenance
✔ Pro tips to enhance longevity & fragrance throw
✔ Common mistakes to avoid
Let’s explore how to get the best results from your reed diffuser!

1. How Do Reed Diffusers Work?
Reed diffusers consist of three main components:
- Fragrance Oil – A specially formulated liquid that evaporates slowly.
- Reed Sticks – Porous rattan or fiber sticks that absorb and disperse the scent.
- Glass or Ceramic Vessel – Holds the oil and enhances aesthetics.
The fragrance oil travels up the reeds via capillary action, releasing scent molecules into the air. Since they don’t require heat, reed diffusers are safer and longer-lasting than candles.
2. Choosing the Right Reed Diffuser
A. Selecting the Best Fragrance
- Small rooms (bathrooms, offices) → Light, fresh scents (citrus, lavender, linen).
- Large spaces (living rooms, hallways) → Stronger, warmer scents (vanilla, sandalwood, amber).
- Seasonal choices:
- Spring/Summer: Floral, citrus, or oceanic notes.
- Fall/Winter: Spiced, woody, or gourmand scents.
B. Quality Matters
- Oil viscosity: Thicker oils last longer but diffuse slower.
- Reed material: Rattan reeds disperse scent better than synthetic ones.
- Vessel design: Narrow-necked bottles slow evaporation.
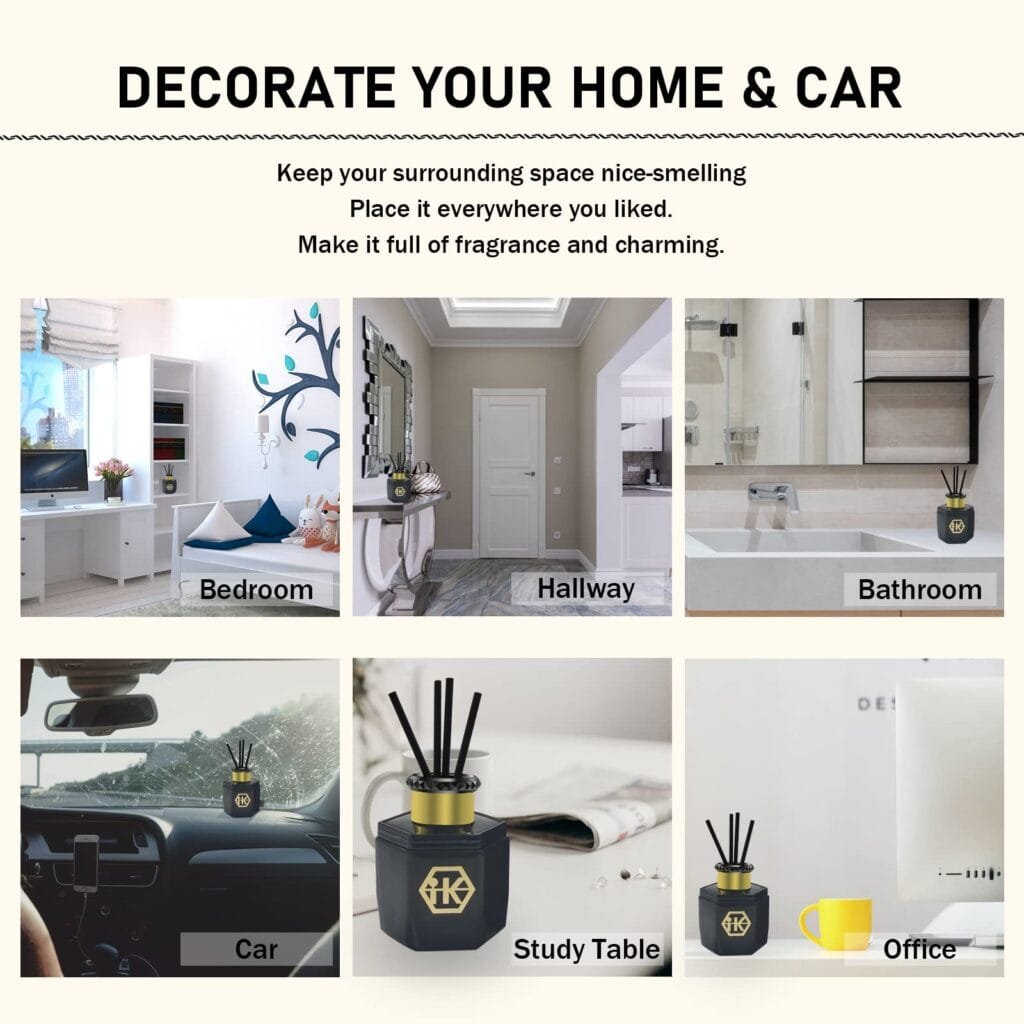
3. Where to Place Your Reed Diffuser for Best Results
Ideal Locations:
✔ High-traffic areas (hallways, entryways, kitchens) – Movement helps circulate the scent.
✔ Elevated spots (shelves, side tables) – Heat rises, enhancing diffusion.
✔ Open spaces (living rooms, dining areas) – Allows fragrance to spread evenly.
Avoid:
✖ Direct sunlight (degrades fragrance faster).
✖ Closed-off spaces (prevents scent from traveling).
✖ Near open windows or fans (can cause rapid evaporation).

4. How to Set Up a Reed Diffuser (Step-by-Step)
Step 1: Place in the Right Spot
- Choose a well-ventilated but not windy location.
- High-traffic areas (like hallways) help distribute the scent naturally.
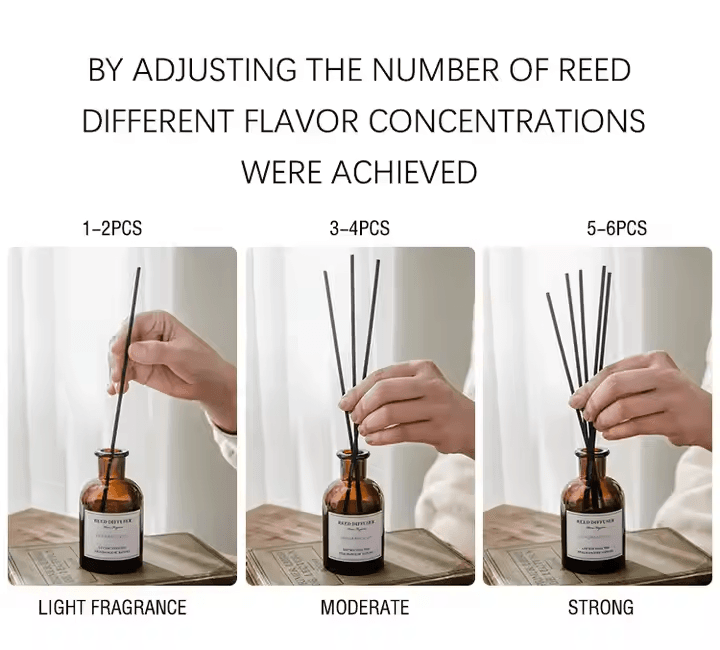
Step 2: Insert the Reeds
- Start with 5-6 reeds (adjust based on room size).
- Flip the reeds every 2-3 days to refresh the scent.
Step 3: Adjust for Scent Strength
- More reeds = stronger scent (but faster oil consumption).
- Fewer reeds = lighter scent (extends longevity).
Step 4: Maintain & Refresh
- Rotate reeds weekly to prevent clogging.
- Replace reeds every 2-3 months (they lose absorbency).
- Top up oil when only ¼ remains.
5. Pro Tips to Maximize Scent Throw
✅ Flip reeds more often in humid climates (moisture slows diffusion).
✅ Place near airflow (but not direct drafts).
✅ Use a wider-mouthed diffuser for stronger projection.
✅ Store extra oil in a cool, dark place to preserve potency.
6. Common Mistakes to Avoid
❌ Using too many reeds → Wastes oil quickly.
❌ Not flipping reeds → Weakens scent over time.
❌ Placing near heat sources → Speeds up evaporation.
❌ Mixing different oils → Can create unpleasant odors.
7. Safety & Longevity Tips
- Keep away from children & pets (some oils are toxic if ingested).
- Avoid spills on wood/plastic (may cause damage).
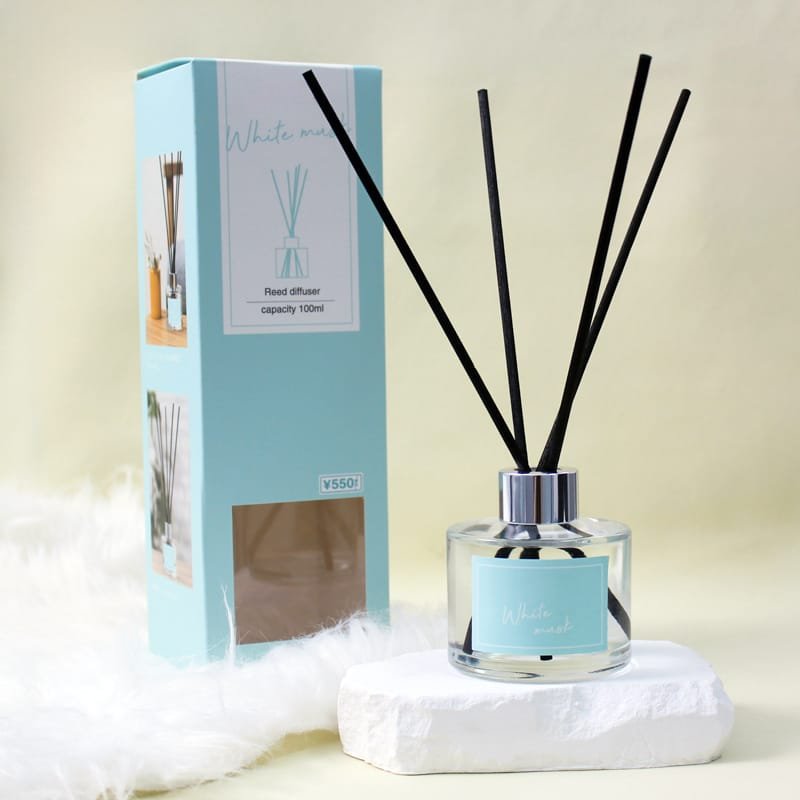
- Standard diffusers (100ml-150ml) last 4-8 weeks with proper care.
Final Thoughts
Reed diffusers offer a hassle-free way to enjoy continuous fragrance. By choosing the right scent, placing it in a high-traffic or elevated spot, and maintaining it properly, you can keep your space smelling amazing for weeks.
Ready to upgrade your home fragrance? Explore our premium reed diffusers in long-lasting, luxurious scents!
Have questions about diffuser placement or scent selection? Drop them in the comments! 🌿